Tuesday, July 23, 2013

Biscuits and Gravy ~ Vegan, Gluten Free

In our family travels, we have experienced some of this country's best and worst versions of Biscuits and Gravy.  I would consider my husband a connoisseur of breakfast gravy.  I am a relative "newbie" since I had never experienced the rich, creamy concoction until I moved to Arkansas for college.  I'm not sure southeastern Massachusetts restaurants have it as a specialty.  But, I have had my fair share of Portuguese chouriço with peppers and onions for breakfast (or lunch, or dinner). 

Moving back to New England with my southern boy in tow, he quickly became disappointed with the local options of biscuits and gravy.  I remember him describing one such attempt at a diner as "raw pancake batter with cut up hotdogs in it".  Poor man, he all but gave up trying to find a decent version in the nearby restaurants and just made it at home on a lazy Sunday morning. Our daughter has had the pleasure of his creamy homemade gravy with spicy chunks of locally made breakfast sausage over flaky buttermilk biscuits before we made a family diet change.  This is not that recipe.  


How do I make a vegan, gluten free version of this incredibly unhealthy breakfast favorite?


Start with the Vegan Sausage:                                  
Ingredients:
1/2 cup chopped fennel bulb
1/2 cup chopped onion
1 large garlic clove

1 1/2 cups sunflower seeds
1/2 tsp crushed red pepper flakes                                                         


3 Tbsp olive oil, divided
4 tsp purple sage
2 tsp pink salt
2 tsp ground black pepper
1 tsp marjoram
1 Tbsp maple syrup

 1/4 tsp ground cloves


To prep the "sausage", you either need a food processor, or be ready to chop, chop, chop.
Finely chop or food process sunflower seeds (you can do this in small batched with a coffee grinder). Add 1 Tbsp olive oil, maple syrup, sage, salt, pepper, marjoram, red pepper flakes, and cloves.  
Mix well.


Empty food processor into a 2 quart bowl and add finely chopped fennel bulb, onion, and garlic (I chopped this in the food processor as well). Stir until well incorporated with sunflower seeds mixture.


Add remaining 2 Tbsp olive oil into large cast iron pan and heat on medium-high.  
Cook until brown and crispy.  Let the mix sit in the pan, don't over stir it or it can get mushy.  You want this to really brown up and get crispy.  You will be adding this to a liquid later to make the gravy, so go ahead and blacken parts of it.  Use a metal spatula and scrape that dark stuff off the bottom of the pan.  When this is all nice and crispy, empty it into that 2 quart bowl again so you can use the cast iron pan for the gravy base.

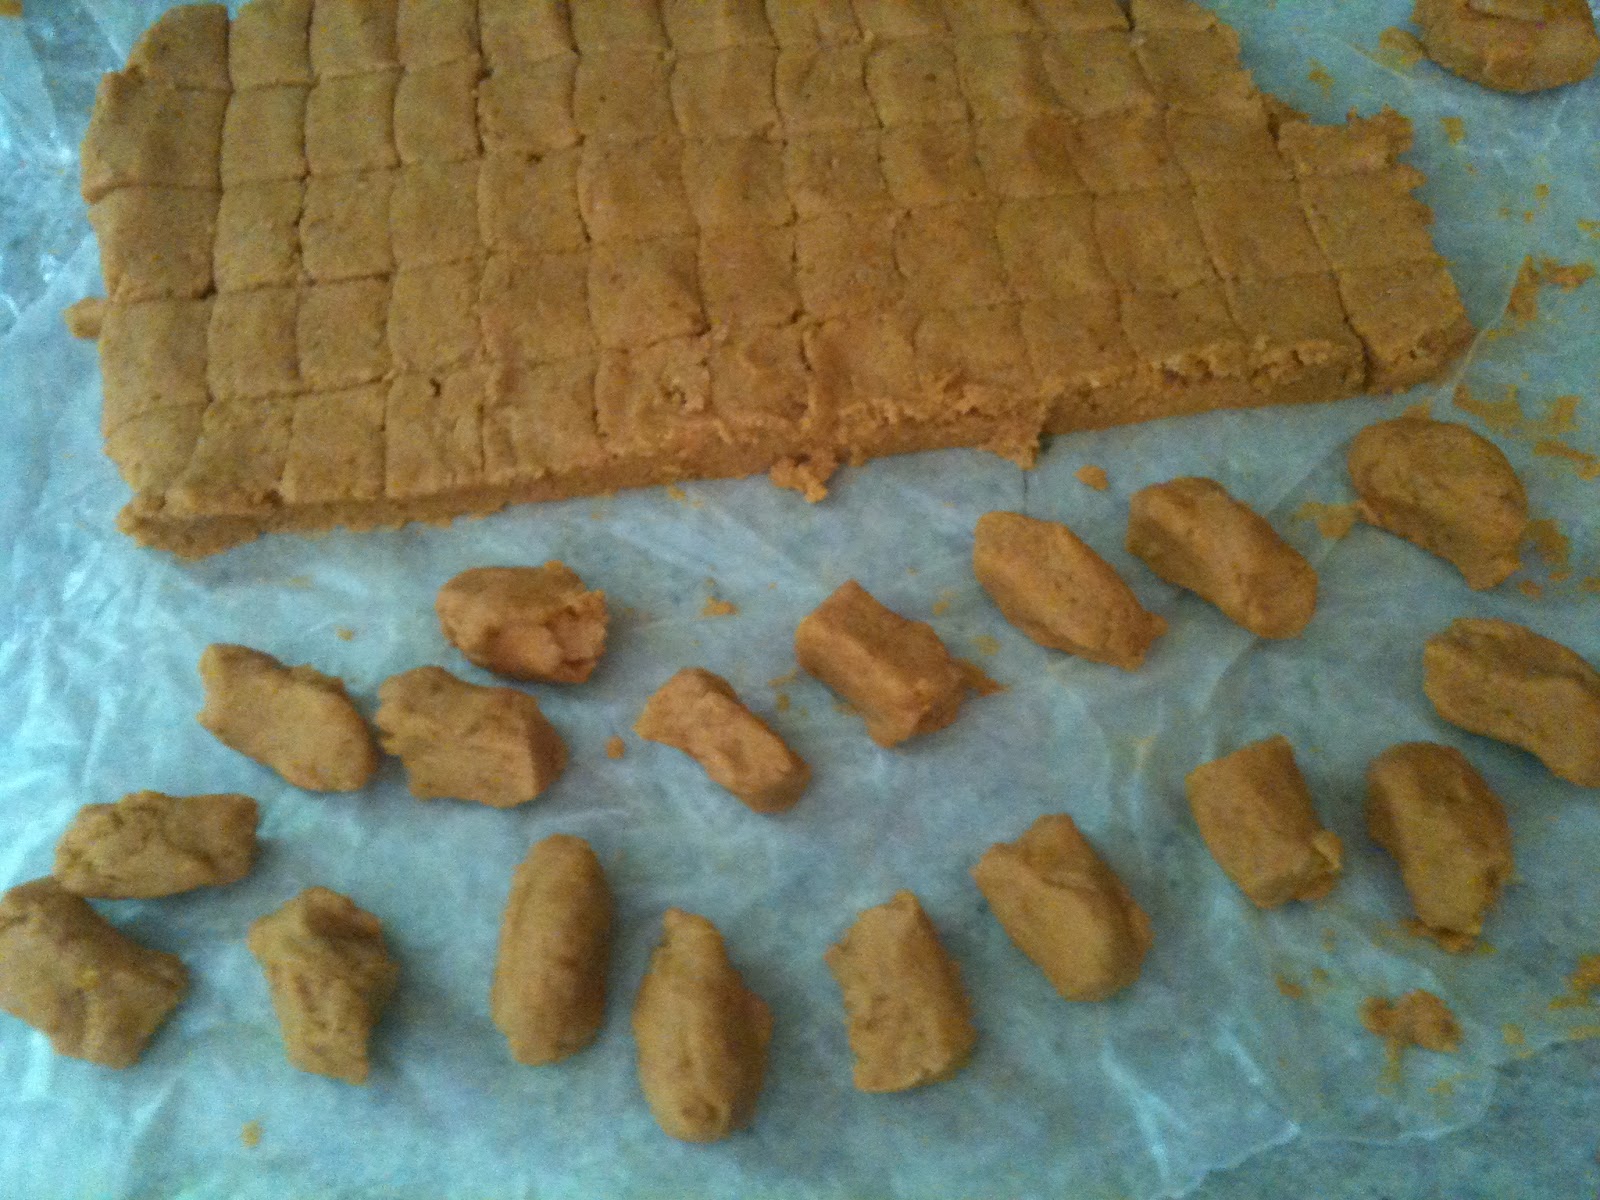
This is a good time to start your biscuits.  You could use any of your favorite biscuit recipe for this and if you have an amazing, flaky one that doesn't use butter, vegan margarine, or coconut oil, pass it on to me!  This is just my go to, run of the mill, olive oil, gluten free biscuit recipe...

Gluten Free Biscuits:                                             

1 cup all purpose gluten free flour mix 
(I used Bob's) or wheat flour, or blend.  
2 tsp baking powder
1/4 pink salt
3 Tbsp olive oil
1/3 cup water (or nut milk)

Stir dry ingredients in a bowl, pour in oil, mix with fork until small clumps, add water and form into a disc. Do not overwork this dough, just pat flat, about 1 inch thick. 


Cut and bake at 450* for 10-12 minutes.  
This makes a small batch because they are best when fresh from the oven.  While the biscuits bake, start on that gravy.


Breakfast Gravy:   

Make a rue with 
2 Tbsp olive oil
2 Tbsp (gluten free) flour

Mix together in the hot cast iron pan (with whatever bits of leftover crumbly remain) until a paste forms.


Add 4 cups almond milk (or any other vegan milk, but I've only ever used my homemade almond milk) and whisk. 


Keep whisking until it thickens and slowly boils.


Add your Vegan Sausage.         

Normally, I would say salt and pepper to taste, but I think you will find that the sausage is highly seasoned and there is no need to add anything. (Unless you are Ben, and add black pepper anyway.)
Stir until heated thoroughly.  Let sit until biscuits are done.


Split open your fresh biscuit, dollop a large spoonful of gravy onto each half and dig in!


Friday, July 19, 2013

Too Hot to Cook? Stove Free 7 + Layer Dip

We haven't put the ACs in the windows yet.  The evenings still get pretty cool at night and we open all the windows to cool the house down, then shut them first thing in the morning to trap the cool night air.  Some high powered fans help us out too.  Dinner is a challenge when the last thing you want to do is turn on the oven or even the stovetop.
Here's my Beat the Heat recipe for a vegan, gluten free Seven Layer Dip:

Starting from the bottom:
1. 2 Cans of black beans rinsed and mashed with 1 tsp cumin and 1 tsp onion powder.
2. Vegan Taco Meat (see recipe on Vegan Taco Night link below)
3. 2 Avocados mashed with a crushed garlic clove, 2 Tbsp finely diced onion, and the juice of one lime.
4. Slightly thawed frozen organic corn (about a cup)
5. 2 Chopped organic tomatoes tossed with 3 Tbsp chopped fresh cilantro.
6. Almond Cheese (see recipe on Vegan Taco Night link as well)
7.  Sliced Black Olives
Optional Additional Toppings:
thinly sliced Green Onion and/or finely chopped fresh Jalapenos.

Serve with organic corn chips, or wrap in your favorite tortillas.  We brought this to a potluck and it was DEVOURED, even the meat lovers couldn't believe it was vegan and so delicious!

Vegan Taco Meat and Cheese recipe can be found here:
http://freedomfoodcookbook.blogspot.com/2013/07/vegan-taco-night.html

Thursday, July 18, 2013

Oh My, A Blueberry Pie!

Have you heard the penguin joke? 
My dad is the most epic corny joke teller in the universe.  Working with kids his whole life and having four of his own gave him many opportunities to use the best of the worst jokes in his repertoire countless times.  Last season, my daughter's ski coach required a new joke from her everyday at the beginning of practice (thanks Johnny Mac) and she would often recall one of Grandpa's classics.  He is a great resource for witty, tasteful, and age appropriate humor.  The penguin joke has gone down as a family classic and someday I may just share it with you all.  But this post is about pie.

Two pies were sitting in the oven.  
One pie says, "Wow, it's hot in here."  
The other pie says, "Oh my, a talking pie!" 


If these pies could talk, they may complain about the heat, too.  New Hampshire has been hit with some muggy weather this week, but that hasn't stopped my husband from harvesting gallons and gallons of wild blueberries from the pine barrens down the road.   That good ol' southern boy has been devoting hours and hours in the heat to harvest these powerful antioxidants to get us through our long winters.  A good friend loaned him a blueberry hand rake which has increased his harvest.

Our evenings have been spent cleaning, sorting, and freezing them together as a family.


Hannah's been following the rule of eating from the unsorted container, and not grabbing handfuls of the prepped berries.

After the berries are cleaned and sorted, lay them on a cookie sheet and freeze in a single layer.  This allows you to bag them up and not end up with a solid smooshy bag of berries.  To make this pie, you need 4 cups of berries, you do not have to freeze them, they can be fresh.

Don't be afraid of pie crust! This simple, easy, no roll, no chilling vegan and gluten free crust will change the way you think about pies.  No kidding!

Ingredients:

1/2 cup oat flour (I ground organic raw oats with a coffee grinder)
1/2 cup almond flour (I ground dehydrated almond pulp from making my own almond milk)
1/2 sweet sorghum flour
* You can use any combination of 1 1/2 cups of flour for this crust.
1 tsp sugar
2 tsp cinnamon
1/2 tsp salt

Pour this directly into the pie dish and Mix it together.

Next, in a separate container, combine
1/3 cup oil (I used extra virgin olive oil)
3 Tbsp water

Pour directly into flour mixture in pan.

Use a fork and combine until fine crumbles.


Press crumbles to sides first with fingers or the flat side of a measuring cup, then press bottom to form a thin crust.


Filling:


4 cups blueberries
1 Tbsp lemon juice
1/3 cup organic sugar
1 Tbsp arrowroot flour (or cornstarch)
1/4 cup sweet sorghum flour (or other flour)
2 tsp cinnamon

Pour into pie crust and bake in preheated 350* F oven for 45 minutes.

ENJOY!!!


Sunday, July 14, 2013

Vegan Organic Maple Cream Soda


That's right!  So delicious and refreshing, this is a year round crowd pleaser... 

2 Tbsp dark maple syrup (or whatever REAL maple syrup grade you have)
1 Tbsp coconut milk (or up to 3 Tbsp almond milk because it is thinner is texture)
Stir it together and pour over ice and add
6 oz of San Pellegrino (or any other Fluoride Free carbonated water)


I have never loved soda. I was not raised with soda in the house, it was reserved for holidays and special occasions.  We didn't frequent fast food restaurants and when at a restaurant, we all ordered water.  I don't actually care for soda.  Even in college in the South, when I had free access to unlimited soft drinks, I wasn't a big fan.  I had roommates that were ADDICTED to the popular fluorescent-green high caffeine one or that ever popular Doctor one. They were alright, but I could take them or leave them.   They had their purposes in mixed drinks, but that was about it.  When I did partake in a can of the bubbly liquid, I would often open it up and place it in the fridge to allow most of the carbonation to diffuse (much to the chagrin of my then boyfriend, now husband) before I would sip on it over a tall glass of ice, trying to cut the sweetness.  I had never had a diet version, as the smell of the artificial sweetener reminds me of poison. My spouse, however, was a true addict. In his mid twenties, he decided he no longer wanted to want to drink it, for many reasons.  He knew it wasn't good for him, he wanted to make healthier eating choices, and he was brewing beer.  Who drinks soda when they can drink homebrew?  He actively reduced his intake by replacing his red can of choice with seltzer water over a several year period of time. He still drank some sodas because of the taste and sugar rush and caffeine, but the seltzer helped curb the craving for the burn.  He loved the burn.  The tingle of that ice cold carbonation burning the back of his throat was just as addictive at the chemical caffeinated concoction inside the liquid.  

We began making soda when Hannah was about four years old.  She would see others with it and started asking for it.  Shoot!  What to do.  We did what I remember my parents doing to me.  We mixed plain seltzer water with juice and gave her a fancy cup with a straw. Sure... that's soda!  Orange Juice was her favorite!  But, honestly, it was such a rare treat, saved for gatherings with friends and family, that we didn't get very adventurous.  Until recently.  I make a mean lemonade, copied from a local organic pizza place that uses local maple syrup and fresh squeezed lemon juice.  We made it with seltzer water and voila, Lemon-(Lime) soda.  So we make these pretty regularly on homemade pizza night here (lately that's been a chia crust with hummus and roasted veggies), but we were out of lemons, limes, oranges, all citrus!  No lemon or lime juice left in the fridge, either.  Oh No!  Now I could have just given her maple sweetened seltzer water.  I mean, doesn't that sound good?  But I had coconut milk in the fridge!  So ...
I mixed this up!

2 Tbsp dark maple syrup (or whatever REAL maple syrup grade you have)
1 Tbsp coconut milk (or up to 3 Tbsp almond milk because it is thinner is texture)
Stir it together and pour over ice and add
6 oz of San Pellegrino (or any other Fluoride Free carbonated water)

For a list of fluoride free bottled or carbonated water go to...
http://www.bibliotecapleyades.net/salud/salud_fluor35.htm

Saturday, July 13, 2013

Most Epic Cupcake Decorating Party

Okay... those of you that were here know this happened two years ago, but it was, by far, the most epic birthday party Hannah has had to date.  Never mind that she fire hooped that weekend for the first time in the backyard in front of half the town... what does that compare to cupcakes?

Anyway... As I always do, I asked Hannah what kind of birthday party she wanted and she replied, "How about a cupcake decorating party?"

This was completely my fault, as I had been on a cupcake making kick for a while that spring (as evidenced by the gift boxes of cupcakes I would drop off in our neighbors' kitchens because NO family should have to eat 48 cupcakes a day).  So how did I manage to have a cupcake decorating party for a dozen 8ish year olds (some guests were a few years younger and some a few years older)?

Piece of cake! (Literally)
We had invited 10 kids (her entire class in school plus a few girls from the grade below and some family friends) but planned for their siblings as well.  Hey, it's a small town! It's a good thing we planned for more, because when the older brothers and sisters of our guests found out what we were doing, they decided to stay and join us.  No problem!!!
I prepped it all the day before, because who likes old cupcakes?  I'm sure you could freeze them if you had room (I do now, thanks to the commercial freezer I got for Mother's Day, but didn't have it back then).  I know I needed at least 3 vanilla and 3 chocolate for each kid.  I baked 100 of each... This is not too overwhelming because that's just a double batch of a 2 layer cake recipe.  The chocolate cupcake was my go to vegan one I have used for years, long before I was a vegan, and is based on an old Betty Crocker recipe used during wartime because it uses no butter or eggs.  The vanilla one had good old organic butter and milk, and local eggs.
Here are some of them cooling.  Notice I did not overfill them.  The kids were going to decorate them themselves and you know kids love frosting!

Speaking of frosting.... this is were the WORK came in.
My plan was to teach the kids 6 different cupcakes, half vanilla based, half chocolate.  For frosting prep, I needed a batch of each of the following...
Cream Cheese, Maple, Lemon, Peanut Butter, Chocolate, and Mint.  
Thank goodness for my KitchenAid mixer!
Then I portioned about 1/3 cup of each frosting into sandwich sized baggies. Make sure they are sealed SHUT!

Toppings...
Homemade Strawberry Jam, Cinnamon Powdered Sugar, Organic Yellow Decorating Sugar, Milk Chocolate Chips, Crushed Newman O's (organic Oreos), Organic Gummy Worms, and Mini Dark Chocolate Chips

I portioned "toppings" into little one ounce serving cups with lids that my school cafeteria ladies gave me (along with some little wooden spoons). I put these individually in a white paper bag with the frostings and placed in the fridge overnight.  I sorted the cupcakes into these cute little 6 pack cupcake boxes I had found on super clearance after Easter that year.  So CUTE and PERFECT!!! (especially for under 20 cents each!) 

Step by Step
When the time came for the decorating activity, after much hula hooping, swinging, and running around acting like 8 year olds, each kid got a "kit". One paper bag filled with six little baggies of frosting and their toppings, and a box of cupcakes.
I had several pairs of scissors on the table and cups with little wooden ice cream spoons for the kids to cut the corner of their frosting bags (with a model and adults nearby) and spread their toppings. We were READY! (My white carpet, however, was not ready for this onslaught of frosting, cake crumbs, and toppings.)

Cupcakes!!!
1. Strawberry Cheesecake ~ Vanilla cupcake with cream cheese frosting, topped with strawberry jam.
2. French Toast ~ Vanilla cupcake with maple frosting, topped with cinnamon powdered sugar.
 (This was definitely the crowd pleaser!)
3. Lemonade ~ Vanilla cupcake with lemon frosting and yellow sugar (they could have also done a strawberry lemonade by adding a dollop of that jam).
4. Peanut Butter Cup ~ Chocolate cupcake with peanut butter frosting and milk chocolate chips.
5. Dirt ~ Chocolate cupcake with chocolate frosting, crushed cookies, and gummy worms.
6. Mint Chocolate Chip ~ Chocolate cupcake with mint frosting and mini chocolate chips.

So now, all we needed was a CAKE!!!!

Each of the party guests chose one more cupcake from the "extras" table and used the leftover frostings and toppings to create the most EPIC cupcake ever to place on the cake stand!  Super fun! We placed a candle in Hannah's creation, sang "Happy Birthday", and everybody ate their cake.  

Here's the birthday girl packing up her finished lemonade cupcake.


Some of the finished boxes of cupcakes ready to go home with the kids!
My only regret with doing this birthday party is that I did not take nearly enough pictures!


Friday, July 12, 2013

Vegan Pumpkin Gnocchi with a Creamy Sage Sauce


My family loves gnocchi, that hardy potato pasta in the funky shape.  Hannah used to call them "pasta balls" and eat them with her fingers.  We used to buy them in the store and have them occasionally. Since going vegan and gluten free, store bought gnocchi is no longer an option.  They are made with wheat or the gluten free ones have eggs in them.
Sadly, my neighbors dog died.  They were very loving pet caretakers and would make the dog food in their home using roasted pork and canned pumpkin.  She ordered cases of large cans of pumpkin in bulk and was left with nearly 3 whole cases when her precious friend passed.  Knowing I cook and bake, she gave me a case of pumpkin.  I've made brownies, muffins, and bread.  I got pretty sick of baked goods so I moved on to Pumpkin Pie smoothies.  That used like 1/4 cup of pumpkin and I had quarts of it.  I had heard of sweet potato and squash gnocchi, so I thought, why not....
Pumpkin Gnocchi!
Guess what?  It's been done... with wheat and eggs.  Surely it can be done without!
So here is what I did.  They are not the prettiest, but they taste fantastic.  Tossed with a little extra virgin olive oil and topped with a creamy vegan sage sauce, they were gobbled up.
Let's start with the Dough:
After playing with the proportions, the best way I found was the following... it's pretty gooey and wet, but cooks up beautifully and the texture is perfect!
2 cups pumpkin puree
2 cup gluten free flour (I used sweet sorghum flour)
1/2 tsp salt
1 Tbsp ground flax mixed with 1 Tbsp water

Mix it all together with a fork until is comes together.  
Divide it into fourths, wrap in plastic wrap and freeze three of them for later.
Turn remaining dough out onto a floured surface and press to just under an inch thick.
Cut it into half inch wide strips and then to one inch sections.


Use a fork to make markings on the pieces.  This helps the pasta capture more of the sauce.


Get a sauce pan going with rapidly boiling salted water.  Use a slotted spoon to lower 6-8 gnocchi into the water at a time.  I boiled 2 spoonfuls at once (about a dozen) for about 6 minutes or 
1 minute AFTER they float to the top.

Place cooked gnocchi into a large bowl with 2 Tbsp extra virgin olive oil and toss until coated.

While pasta is getting cooked, work on the sauce...

Creamy Sage Sauce:
One yellow onion
3 garlic cloves 
1/2 cup raw pinenuts (pigolis)
1/2 cup white wine
1/4 cup almond milk
salt
pepper
12 fresh sage leaves
1 tsp sugar


Slice the onion and chop the garlic and cook with 1/4 cup of water in a hot pan until soft.
Add the wine and cook slightly to remove alcohol.  
Place in a blender with the raw pine nuts and almond milk.  Blend until smooth.
Meanwhile, send your daughter out to the garden to pick the dozen sage leaves. Slice them thin and heat them up in the now empty hot pan.
Pour the blended creaminess into the sage pan and stir.  Salt, pepper, and sugar to taste.


I had some beautiful asparagus so I lightly steamed them and finished them off 
on the cast iron griddle until bright green.  

Remember to keep boiling those small batches of gnocchi and putting them in the oiled bowl.

Serve up and Enjoy!


Thursday, July 11, 2013

Vegan Peach Ice Cream Pie

The sun finally came out today.
I am a rain lover, don't get me wrong, but my garden needs water AND sun to grow.  So do the weeds. Rob went out to weed the gardens today and I went to work in the kitchen.  We had picked up a bunch of stone fruit on the way back from the beach this week and I really wanted to use some of it in an ice cream.  I combined two of Rob's favorite flavors as a special treat for him.
Peach + Ginger = Summer Delight!
This takes a bit of wait time, but not a lot of prep time, perfect for a hot day...

Filling ~
2 cans coconut milk (you can make your own as well or use half coconut, half almond)
1/3 cup sweetener (raw honey, local maple syrup, agave, cane sugar)
7 vanilla beans, scraped (or 1 1/2 Tablespoon vanilla extract)
4 large organic peaches

Cut up peaches into chucks, put everything in the blender and mix on high for a minute.  Peaches should be chunked and liquid should be a light peachy color.

Pour into an ice cream maker and let it go about 40 minutes to an hour until soft frozen and creamy.

Crust~
1/2 cup almonds
1/3 cup sunflower seeds
1/3 cup oats
1 inch shredded ginger
6 oz dates

Pulse nuts and seeds in a food processor with an S blade on high until crumbly, add oats and pulse again.  Add shredded ginger, mix it in and add dates, one at a time until dough sticks together when pressed.

Pour into a pie crust and press into shape using a piece of parchment paper and your fingers.

Pour 3 cups of the semi frozen peach ice cream into the shell and freeze for 3-4 hours.

I have a feeling the "leftover" peach ice cream will be gone before the pie is finished solidifying.
Oh the sacrifices we make for our families.

Vegan Taco Night

Our good friends are amazing hosts.  

They are expert dinner party throwers and inspirational cooks.  Many of my recipes were created because of their health and diet changes.  We often head to their house on a Friday evening for food, fire, friends, and fun.  They hold so many get togethers, cookouts, special occasions, and holiday meals, I know their kitchen layout almost as well as I know mine (still working on the layout and food storage in their beautiful custom made built in pantry).  Work schedules, mini trips out of town, and beach vacations kept us from getting together, but a break in activities and prior commitments coincided last night.

So finally we got to host them!

Super excited!  What do you make when the meal needs to please everyone from ages 2 - 42 and be wheat, dairy, meat, sugar, and oil free?  Of course it was going to be Taco Night!!! Complete with my corn tostadas, almond cheese, and nut meat crumbles.  Our guests offered to bring fresh greens from their garden and a massive bowl of homemade guacamole (and a large bottle of white wine).


PERFECT!

So...  the only thing I had to "cook" was the tostadas, which makes this the perfect summer dinner. These can be done ahead of time (like the night before if your kitchen gets steamy during the day), or in the dehydrator if you wanted to make this dinner 100% raw.  You absolutely need nonstick parchment paper for these tostadas because there is NO OIL in them, but taste hearty and fantastic.

Tostadas:
1/4 cup chia seeds
1/4 cup ground flax seeds
1/2 cup blue corn flour (or any, we like the organic blue corn finely ground)
1/4 cup white corn flour (or masa harina, if you can find it)
1/2 tsp sea salt
1 tsp garlic powder
1 tsp onion powder
1 tsp dried cilantro
1 tsp file (or a Mexican spice blend)
Mix all together in a bowl.
Stir in 1 cup of water.
Let sit a few minutes until thickened.

Line baking sheets with nonstick parchment paper and scoop just under 1/4 cup of batter onto paper. Use a rubber spatula to spread them out thin, about 5-6 inch circles, 1/4-1/2 inch thick.  A single batch makes about a dozen tostadas.  You can double this batch easily.  Bake in preheated 350* F oven for 20-24 minutes.  As soon as you remove the pans, peel the flexible tostada off the paper and flip over, so they don't stick.  I lift the parchment paper up by one corner when I peel them so I don't burn my fingers on my stone baking pans.

The only other thing that needed prepping (other than just cutting up toppings or stirring the cheese) was the
Nut and Seed Taco Meat:
Less than 5 minutes prep time and super tasty, this is a win-win for any night of the week.
1 cup sunflower seeds,
1 cup mixed raw nuts (I used hazelnuts and pecans tonight, but have tried it with walnuts and almonds and even the leftover bits and pieces in the snack cabinet).
Pulse in food processor until crumbly.
Add:
2 Tbsp tamari, Braggs, or some liquid soy sauce mixture
1 Tbsp olive oil, optional (or whatever oil you can tolerate, grapeseed, sunflower, flax, hempseed, etc)

I gather the dry spices into a little bowl first so I don't forget anything instead of dumping it directly into the processor.

1 Tablespoon each of the following
cumin
coriander
cilantro
garlic powder
onion powder
chili powder
smoked paprika

1 teaspoon each
salt
pepper
cayenne

Add to nut mixture and pulse until combined well.  This blend is not too spicy for the kids, but can be adjusted to taste.  I made two batches, the other with a Tbsp of cayenne for a spicy kick.

For toppings, I set up bowls with the following:
My friend's delicious bowl of guacamole (avocados, garlic, onion, lime juice)
Fresh ripped greens from their garden
Mild taco meat and an extra spicy version (I put a plate under that bowl so the kids would know which one was which)
organic frozen corn, thawed with cool water and drained
organic black beans, drained and rinsed
sliced black olives
chopped tomatoes sprinkled with cilantro
almond pulp cheese (the leftover solid part from making almond milk, mixed with a tsp onion powder, a tsp garlic powder, and a tsp nutritional yeast.  Mix with a fork, store leftovers in fridge.)
sauteed onions (not really sauteed, just cooked in a cast iron pan with water until soft)
diced organic sweet onion
sliced lime wedges
variety of hot sauces

We had fun assembling to taste, I do recommend spreading the guacamole onto the tostada first so everything "sticks" to it.  The kids liked to fold them up like a taco, but the grownups managed to eat them flat so we could pile on those toppings!

Finish dinner with your favorite dessert (I made a vegan vanilla almond cake with strawberries on top) or try those vegan ice cream sandwiches I made last week.

The kids had both...

Can't wait to do this again!


Wednesday, July 3, 2013

I Wouldn't Do Anything for a Klondike Bar....

but this Raw (Vegan) Ice Cream Sandwich is so freaking awesome, I mowed the lawn in the heat of the day just so I could enjoy this to the fullest!


There are 3 steps to this delicious treat, and you have to be a little patient on the wait time, but it is a FROZEN treat so cut me some slack.   I didn't actually wait for this bar to be refrozen completely after assembly so it is a bit melty in the pic... I had just mowed the lawn, remember?

Ingredients:

1 cup almonds, raw organic
1/4 cup raw cocoa powder
1/3 cup buckwheat flour
1 scraped vanilla pod (or 1 tsp vanilla)
1/2 tsp sea salt
6 oz dates

8 oz coconut milk (one full fat can, or make your own)
1/3 cup raw honey (or maple syrup, or sweetener of choice)
4 scraped vanilla pods (or one Tablespoon extract)

First Step:  Tasty outer "cookie" crust.

Line a 9 by 13 baking dish (I used a large glass casserole dish) with parchment paper, about twice the size of the pan.


In food processor, pulse almonds (raw, organic), cocoa powder, salt, and finely ground buckwheat (I use a coffee grinder for this).  Buckwheat is not a grain, but a flowering herb, used in Acadian pluots.  If you can't find it near you, finely grind some raw gf oats until powdery as a substitute.  Process this all together until fine and powdery.  Don't just let it go forever though, because the almonds will start to cream into butter.  Add vanilla and dates, one at a time.  I actually use the dates to scrape the inside of the vanilla pod, so I get all those little delicious specks of vanilla goodness into the food, and not left on a butter knife.  The batter should pull away from the sides of the food processer and stick together when formed into a ball.  Spread this in a thin layer in the parchment lined pan.  I tend to lay a big piece of parchment down and fold it over the top to smooth out this cookie layer.  Stick this in the fridge while you make the filling.

Second Step:  Coconut "Ice Cream" Filling.

Mix coconut milk, sweetener and vanilla in the blender and blend.  That's it.  The longer you blend, the more air in the mixture.  I did it for about 5 minutes.  Then I took out the cookie layer pan and poured the milk on top.  Set it it the freezer for about 3-4 hours.

Third Step:  Assemble.

Remove from freezer.  Lift parchment and place on cutting board.  If you are anal, measure the rectangle and cut exactly in half.  I found a serrated bread knife did the best job on this frozen treat.  Fold one half over the other to make the sandwich.  Cut into 2 inch squares and kind of smoosh them together to remove the ice cream seam.  Wrap in waxed paper and refreeze an hour or so to set.

You don't actually have to do physical labor in the heat of the day to enjoy these, but you know your garden needs weeding and the walkways need sweeping, or the car could use a good vacuuming.

BBQ Lentils


I hate having leftovers sitting in my fridge.  I look in there and I see money being thrown away because I know it will just be shoved to the back and forgotten until I get in a rage because I can't fit anything else into the fridge and start emptying the mason jars of whatever was for dinner last week.  

I must be proactive.  I have to make a plan to USE this awesome, organic, quality food, before it is no longer awesome or quality (it would still be organic).  My husband, Rob had made a tasty greek salad with green lentils, dill, tomatoes, cucumbers, and vegan mayo (and a bunch of other stuff, I don't know about) but had only used about half the lentils he had cooked.  Lentils can be tricky.  Our daughter isn't the biggest fan if they aren't very flavorful, she says they taste like paste plain, but I don't remember her ever eating paste, so I think this is just something she has heard.  

So it's lunch time and I look in the fridge and see (AHHH Leftovers!) some cole slaw Rob had made 2 days ago sitting next to those plain ol' lentils in their jar.  Looking none too appetizing, I might add.  The cole slaw triggered a memory of a thick open faced BBQ sandwich I used to order consistently from a local smoke house, but haven't had in (what seems like) forever since given up meat, dairy, gluten, everything.  So I browsed through an old barbecue book and mixed together this sauce with ingredients in the fridge.  It was so easy and delicious, it doesn't even have to wait for more leftover lentils to make again.  

BBQ Lentils Recipe: About 2 cups of leftover cooked green lentils (you can make them fresh as well: Boil 3 cups of water with 1 cup of rinsed lentils for about 20 minutes, until tender)... In a sauce pan I sauteed a med onion, diced with 2 peppers (I used one yellow, one orange) with 2 crushed garlic gloves and a little bit of water. Once soft, I added 2 Tbsp each: maple syrup, apple cider vinegar, and tomato paste. Then I stirred in 2 tsp chili powder, oregano, and yellow mustard (from the fridge, otherwise 1/2 tsp ground mustard). Then I transfered it all to a blender (or submersion blender cup) and blend until almost smooth. Put back in pan, stir in cooked lentils and heat. Serve over your favorite coleslaw (Rob makes a vegan southern slaw that is tangy and not too sweet). We used large romaine lettuce leaves as wraps, but any bun, bread, wrap would work.